Configuring the Registration Process
This short video is a tutorial on how to define Registration forms in Indico:
These steps in detail:
Enable payments
As event manager, enter the event management area and click on Registration on the left banner. As you can see in the image below, payments are disabled by default.
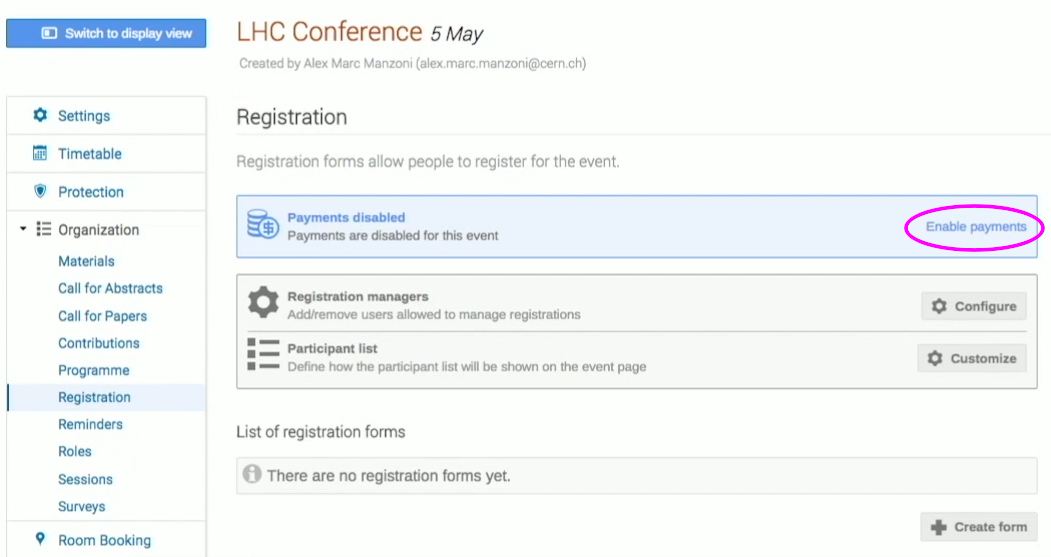
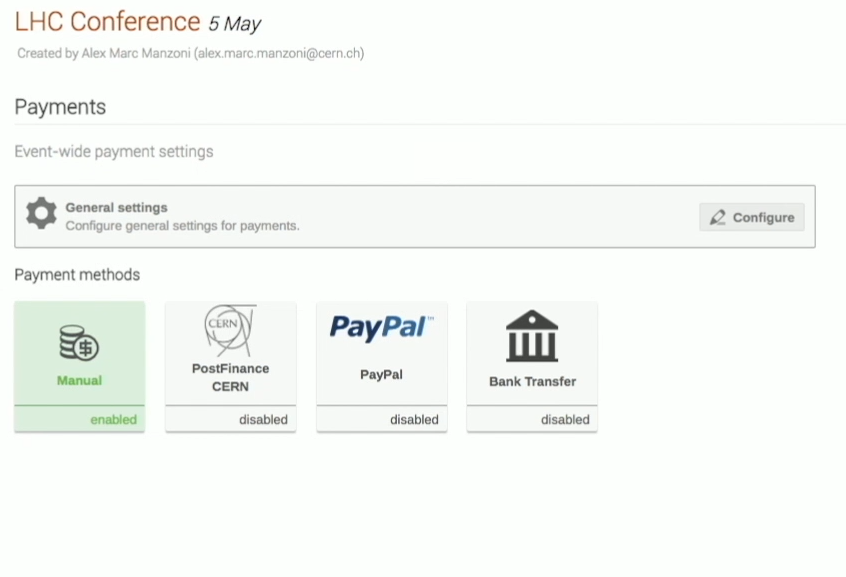
To change this, simply click on Enable payments, and Confirm. At this point, a button called Payments will appear on the left banner. Click on this button to see several payment options. Click on one of the payments options available to enable it, e.g. choose the Bank transfer option, in which case you will have to select Enable, and insert the IBAN code of the bank account where the payment should be deposited. You can do the same for other options such as PayPal, using the PayPal ID you needed for the Conference payment.
Related Registration configuration steps
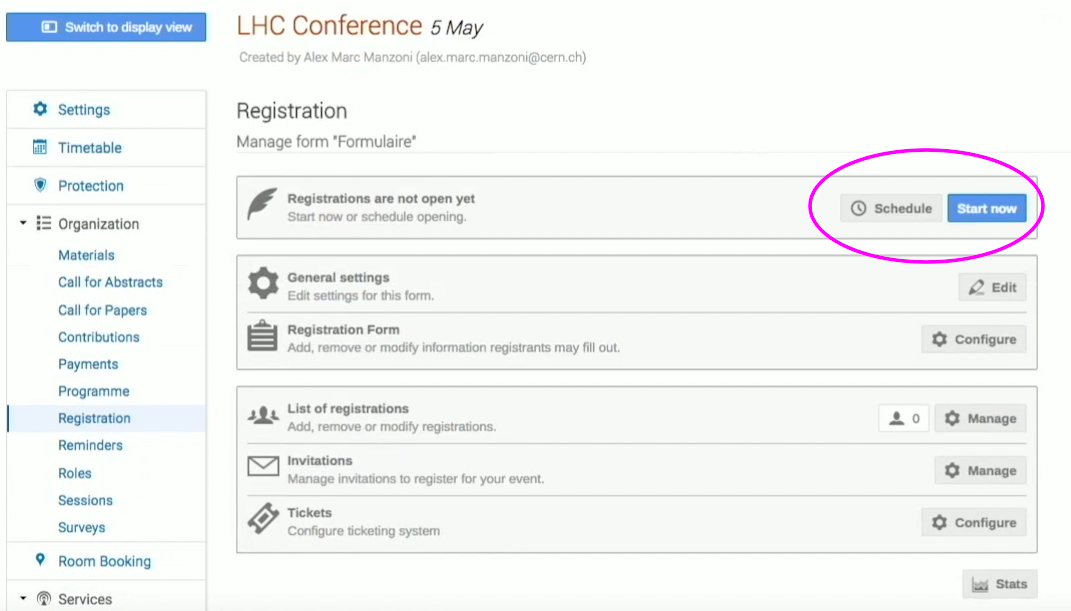
From the Registration page of the event management area, click on the Create form button.
Give a Name to your registration form. The most important of the options available is the Moderated workflow option. If, as a Conference event manager, you select the option Moderated, this means that the manager has to approve any user registration first.
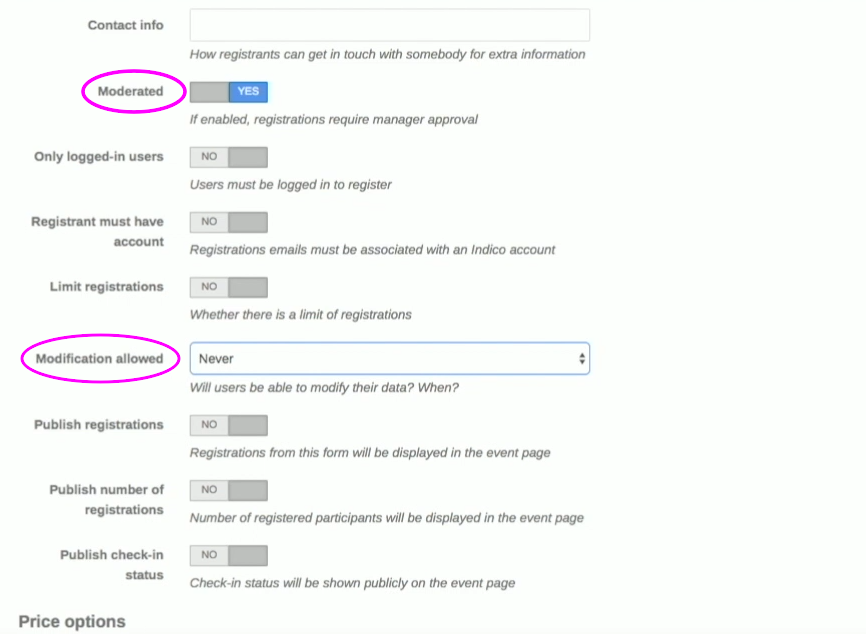
Be careful about the Registration Modification allowed option, because of the electronic payment features. It is wise to allow modifications only until the payment is done or simply select Never. This is because change of such Settings after payment may entail change of the total due amount!
In Price options, select the currency and enter the fee.
Further down the same page you may configure Notification headers and text for emails to be sent to the Registrants and to the event managers. Click on Save when you are finished!
Click on Configure on the right of the Registration form row.
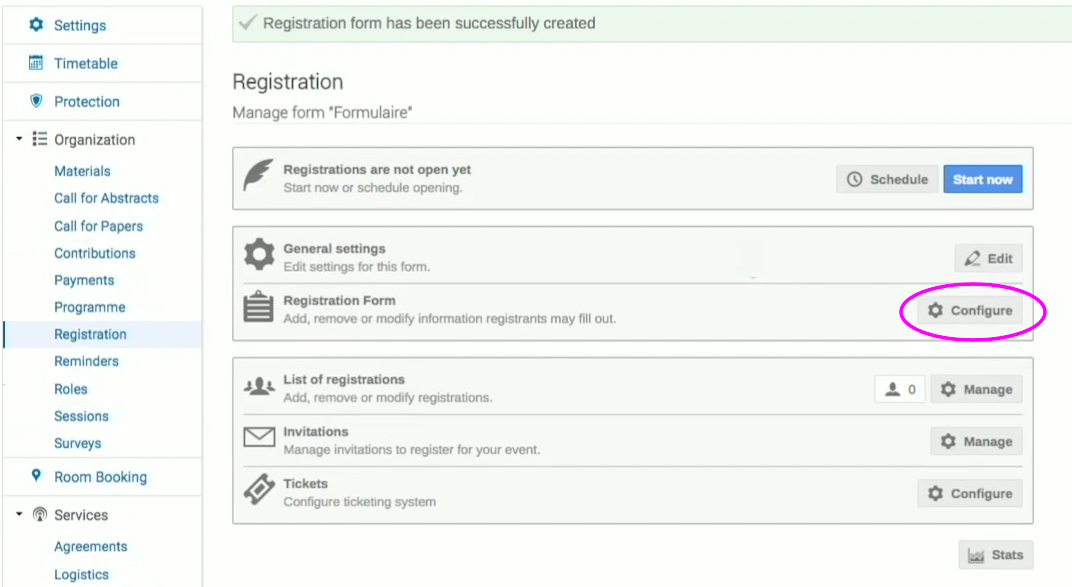
A form is offered to you by default and you can add sections to it by clicking on Add section. This opens a new dialog in which you can select the section title, description and whether the section is manager-only i.e. whether it should be visible only to event managers.
To add a field to your new section click on the + sign on the right of the section title. Here, you are given an option to select from multiple field types. In this example, we will choose the Accommodation field, however feel free to explore all the different field types that Indico offers.
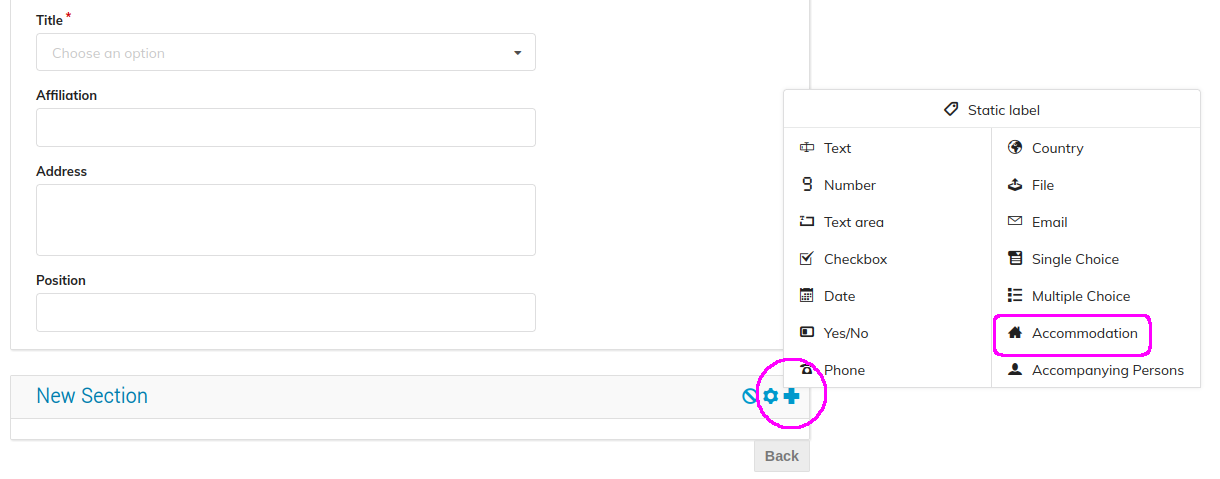
After selecting the Accommodation field, you are presented with a settings dialog. Here, you can select the possible arrival and departure dates. Under Choices, you can see the accommodation options, the default being No accommodation.
To add a new accommodation option, click on Add new under the list of accommodations and fill in the information including the room price and the number of places available.
Both the sections and fields support drag and drop if you wish to change the order. The drag handle is on the left of the section and field titles.
When done with this configuration, click on Back at the bottom of the page on the right.
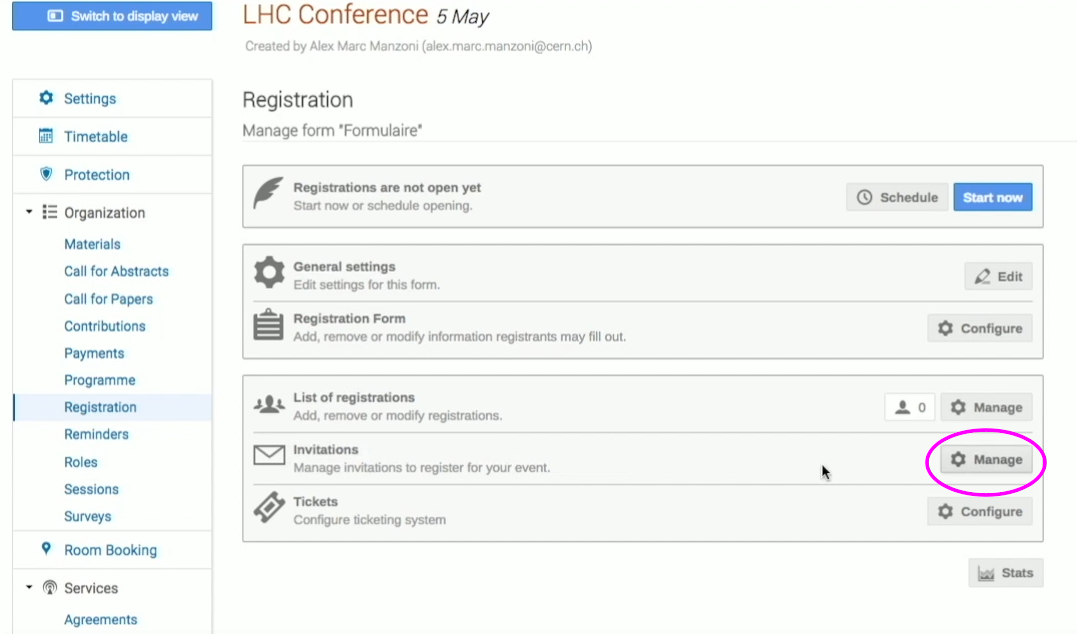
Manage invitations
From the event management page, click on Manage on the Invitations row.
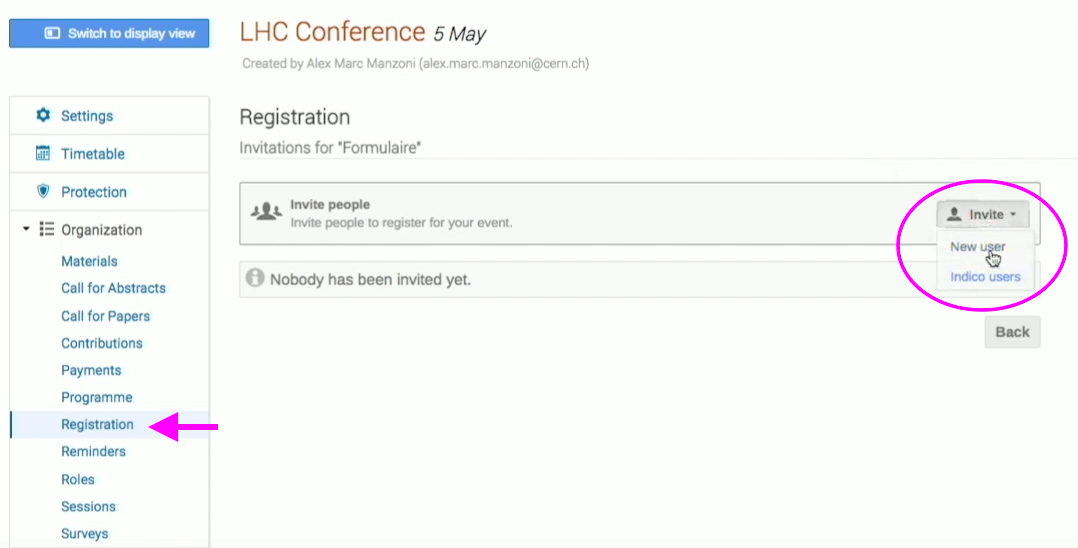
A list of people that will receive an email invitation to the event can be defined here. The email will contain a link to the Indico registration form for the event. They can either Accept or Decline the invitation.
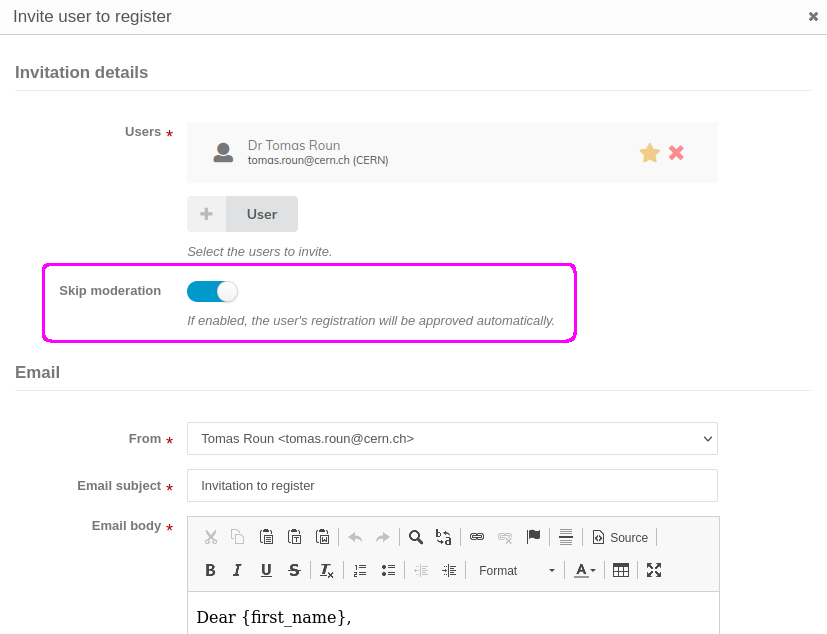
Click on Invite, you can either invite Indico users (by searching and adding them) or external people.
If you want to accept the registration of the users you send the invitations to right away, without the need for a confirmation first, select Yes, on Skip moderation. Click on Send when your invitation is complete.
Return to the registration page, by clicking on Registration on the left banner. Click on Manage, near Registrations. Click on Start now, in order to open the registration process.